Silentera Canyon
| Silentera Canyon is an underground corridor that links Inggison and Gelkmaros. Here you will find the Beshmundir Temple’s entrance and also access to the other faction’s zone in Balaurea. Both races use this space so there are always fierce battles occurring here. | 
|
Contents
- 1 How to get to Silentera Canyon
- 2 Path to the Elyos Entrance to Silentera Canyon
- 3 Path to the Asmodian Entrance to Silentera Canyon
- 4 Silentera Canyon - Area Information
- 5 Area Description
- 6 Jotun Square
- 7 Hope’s Demise
- 8 Beshmundir Temple
- 9 How to Use - Silentera Canyon
- 10 Connection Structure Between Balaurea and the Silentera Canyon
- 11 Silentera Canyon - Quests
- 12 Silentera Canyon - Notable NPCs
How to get to Silentera Canyon
The Silentera Canyon is a corridor between Inggison and Gelkmaros that links the two zones to each other.
Elyos Entrance in Inggison and Asmodian Entrance in Gelkmaros
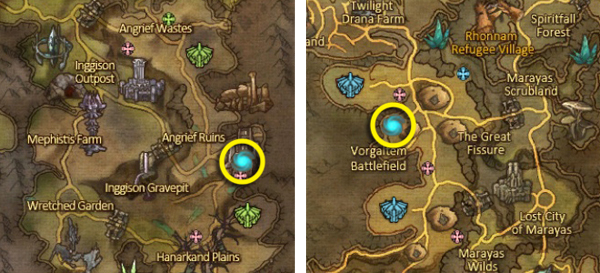
Path to the Elyos Entrance to Silentera Canyon
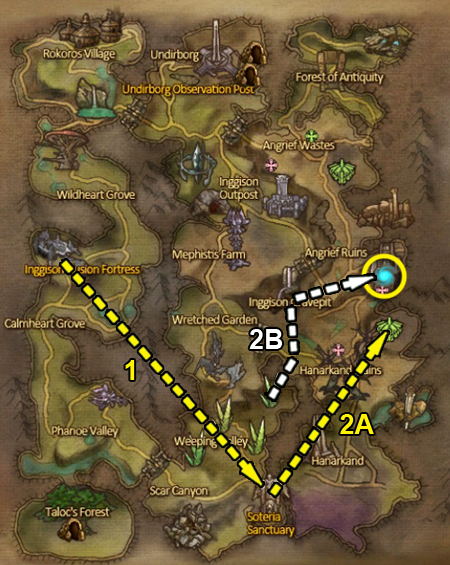
- 1. Take the Air Line from Ingisson Illusion Fortress to Soteria Sanctuary Village.
- 2A. Move from Soteria Sanctuary Village to The Temple of Scales using the Air Line.
- 2B. Alternatively, you can use the Windstream in front of Soteria Sanctuary Village.
- 3. Walk to the Silentera Canyon entrance.
Path to the Asmodian Entrance to Silentera Canyon

- 1. Take the Air Line from Gelkmaros Fortress to Rhonnam Refugee Village.
- 2A. Move from Rhonnam Refugee Village to Vorgaltem Citadel using the Air Line.
- 2B. Alternatively, use the Windstream in front of Rhonnam Refugee Village.
- 3. Walk to the Silentera Canyon entrance.
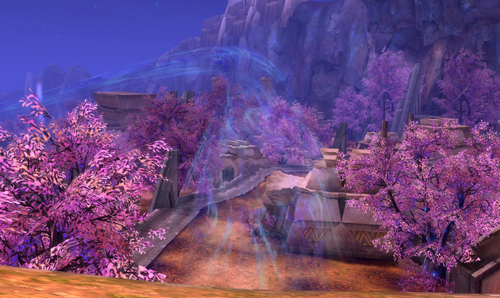
Silentera Canyon - Area Information
Area Description
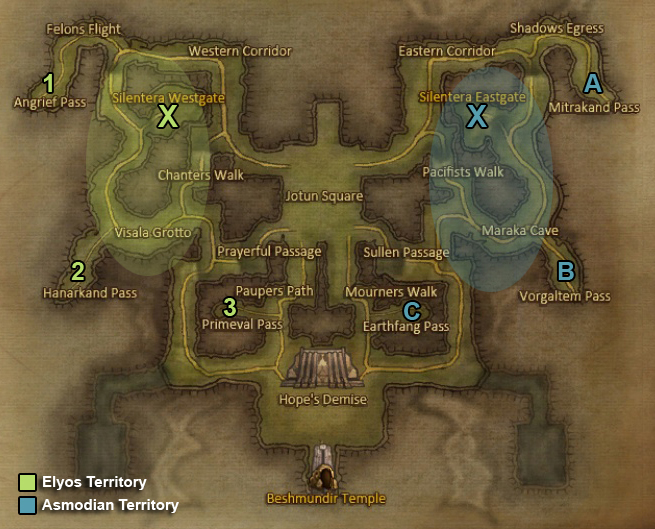
| Entrance
Silentera Westgate
Silentera Eastgate |
You are free to use the exits from within the Silentera Canyon at any time, but you may only enter the Canyon if your race owns each of the fortresses in their zone. You cannot use the opposing race’s entrances. In addition, attempting to block the opposing faction’s entrance is inadvisable as it is guarded by many enemy NPCs, not to mention a steep cliff face. |
| Inggison Exit | There are three exits to Inggison on the left half of the Silentera Canyon. Either race can use these exits. While you are able to exit the Canyon to Inggison from here, you cannot re-enter the Canyon from these points. |
| Gelkmaros Exit | There are three exits to Gelkmaros on the right half of the Silentera Canyon. Either race can use these exits. While you are able to exit the Canyon to Gelkmaros from here, you cannot re-enter the Canyon from these points. |
| One-way Path Areas | Due to steep cliffs in a non-flight area, some pathways are one-way only. These cliffs can be seen on the map, so keep them in mind when navigating the corridors of Silentera! |
| Guard Appearance | Guard NPCs are located near the entrances of each race. These guards are very strong and move between the designated areas in groups of two. |
| Beshmundir Temple Entrance | The entrance to the Beshmundir Temple is located at the Southern tip of the Silentera Canyon. This is a Group instanced dungeon with a level 55 requirement. |
| NPC | * Coin Exchange NPC
Near the entrances of each race, Daily Quest Tokens can be exchanged with NPCs. You can trade 6 Progress Tokens for 1 Fortuneer or Radiant Ops Token or 6 Fortuneer Tokens for 6 Radiant Ops Tokens.
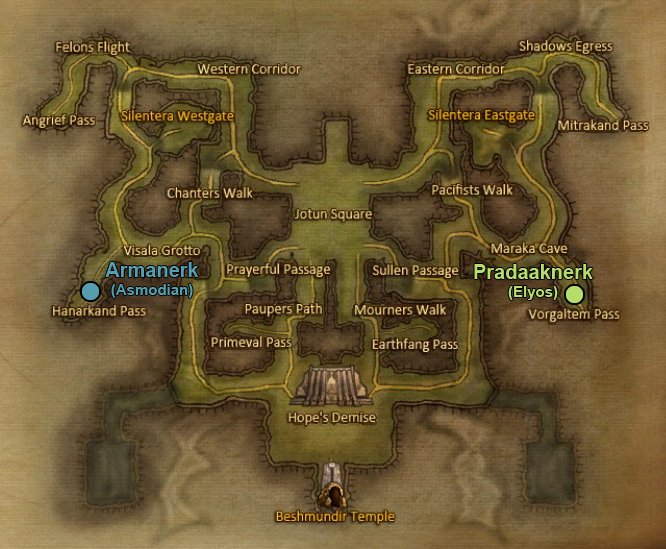
There are NPCs in the Silentera Canyon that sell the opposing race’s brand-name apparel that was introduced with the 1.9 patch. However, they appear randomly at high-risk locations, so you won’t be able to find them easily. The name of the merchant that the Elyos use is Pradaaknerk. The name of the merchant that the Asmodians use is Armanerk.
|
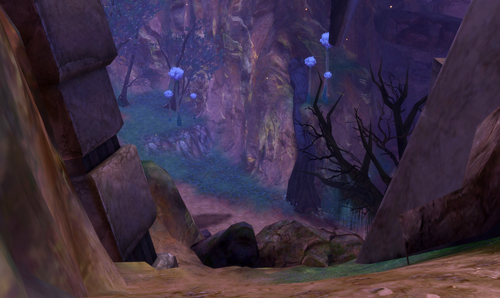
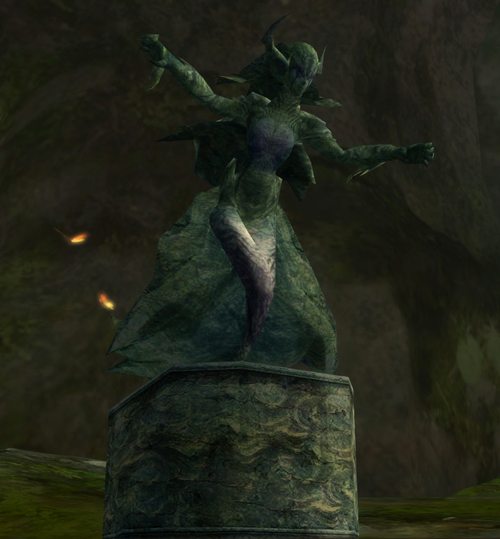
Jotun Square
Jotun Square is a place to which all passageways of Silentera Canyon connect. Therefore, battles between Elyos and Asmodians are common here.
In the Jotun Square, Elite level 55 monsters called “Jotun” roam along with several other monsters. Because the Jotun use stun skills, they can act as outside variables during heated PvP battles. You must be careful when battling near them.
Forward towards Jotun Square!
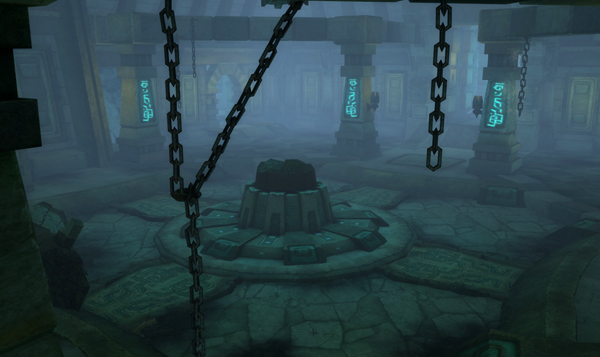
Various facilities are installed inside the Jotun Square.
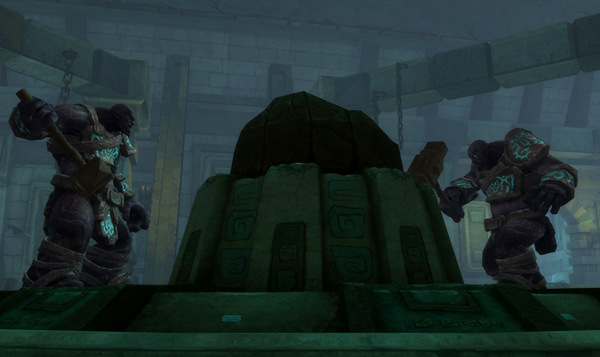
The Jotun in the Silentera Canyon are craftsmen, but are also very capable combatants!
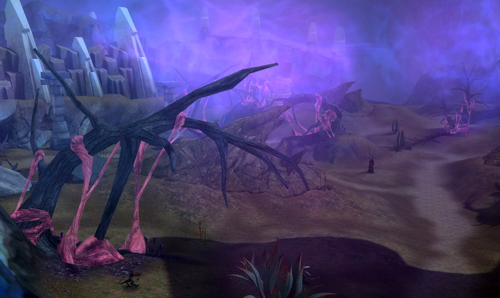
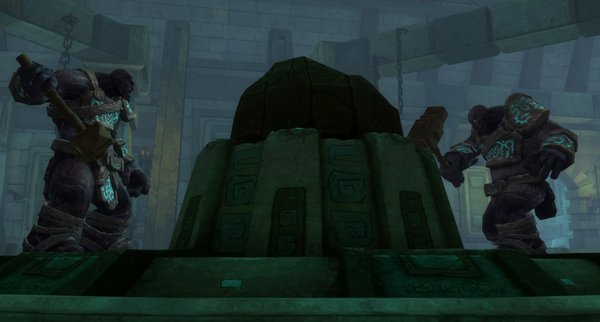
Hope’s Demise
Hope’s Demise is where the entrance to the Beshmundir Temple lies.
Since the Beshmundir Temple instanced dungeon is shared by Elyos and Asmodians, there are always dangers within Hope’s Demise. Players attempting to enter the temple as well as those only interested in the Balaur outside must always watch out for enemy players.
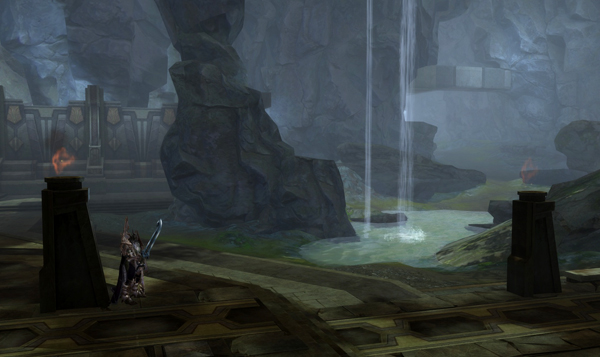
Hope’s Demise is a wide-open area within the canyon.
- Enemies within Hope’s Demise
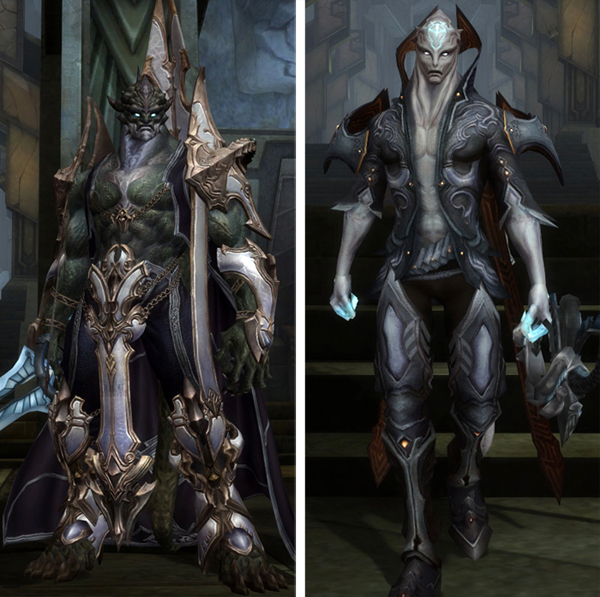
The Bodyguard’s armor is quite impressive! The Marksman attacks with a deadly range!
The Balaur Magi are very powerful! The Medics do much more than just heal!
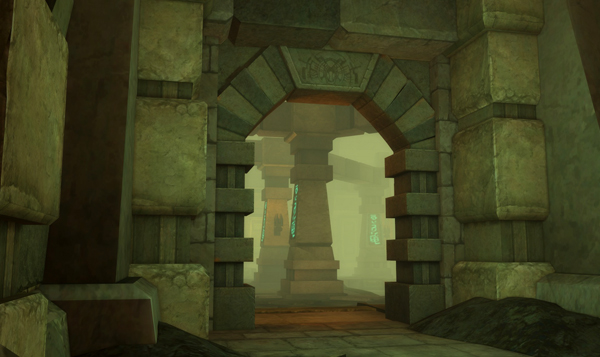
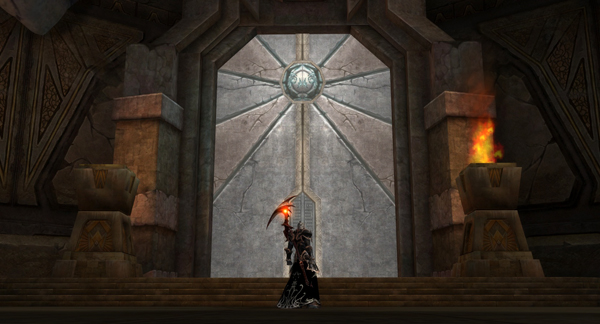
Beshmundir Temple
The Beshmundir Temple is an Instanced Dungeon located deep within the Silentera Canyon. A total of 15 named monsters appear, making it a place where players can obtain high quality weapons and armor. Upon entering, players can adjust the difficulty and have a chance to obtain Eternal set items on the most difficult level.
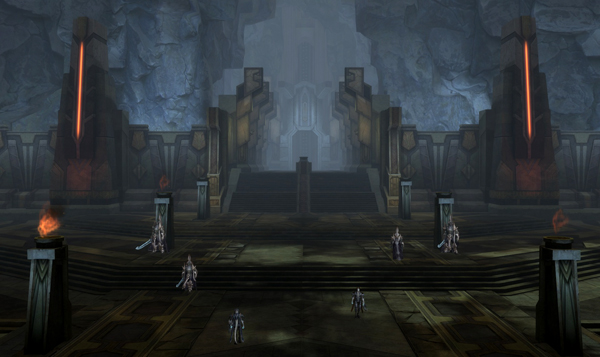
The Beshmundir Temple entrance is guarded by the Balaur.
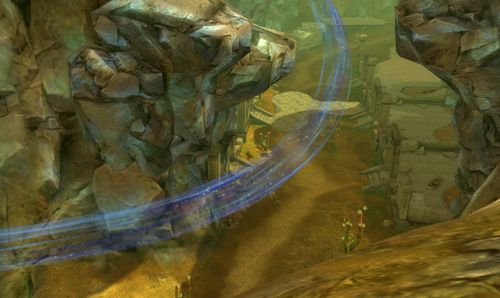
How to Use - Silentera Canyon
These special stones are your ticket out of Silentera Canyon.
There are 2 entrances into and 6 exits from the Silentera Canyon.
The 2 entrances can only be used by the respective zone’s race, but all 6 exits can be used regardless of which race you are. 3 of these exits lead to Inggison, while the other 3 lead to Gelkmaros.
There are no Obelisks in Silentera Canyon. In addition, you cannot use Kisks while inside and some areas near the exits are also restricted. Even after you exit from the passageway, dangers will still exist until you install a Kisk in a safe place.
Connection Structure Between Balaurea and the Silentera Canyon
1. Connection Structure between the Balaur and the Corridor
2. X & X Entrances of Elyos and Asmodians
3. ① Inggison - Angrief Pass
4. ② Inggison - Hanarkand Pass
5. ③ Inggison - Primeval Pass
6. ⓐ Gelkmaros - Mitrakand Pass
7. ⓑ Gelkmaros - Vorgaltem Pass
8. ⓒ Gelkmaros - Earthfang Pass

It’s important to know where you’re going when exiting the Silentera Canyon!
- X & X: Entrances of Elyos and Asmodians
Above you will find a map detailing all of the entrances and exits to Silentera Canyon. Remember that you cannot use the opposing race’s main entrance/exit (X) but all others are fair game.
① Inggison - Angrief Ruins
You can exit to the Angrief Ruins (1) in the Inggison area. You will begin on a hill that is a little higher from the ground if you exit here. As long as the enemy race does not follow you through the same exit, this starting point is mostly safe.
You can install a Kisk outside of this exit.
② Inggison - Hanarkand Pass

There is a Windstream is located right in front of the exit point.
You can exit to Hanarkand Pass (2) in the Inggison area. You need to be careful while moving since there are numerous elite monsters in Hanarkand. Fortunately, the exit is at high altitude and is right near a Windstream. By using Windstreams and Geysers, you will be able to exit the elite monster area in a safer manner.
Asmodian players exiting from this location may find the merchant NPC Armanerk that sells Elyos apparel. Armanerk appears at random and only remains for a short time. If waiting for Armanerk, be aware that Elyos players will also be using this exit!
You cannot install a Kisk outside of this exit.
③ Inggison – Forest of Antiquity
This is a very dangerous area and those entering it solo will likely meet an untimely demise.
This exit leads to the Forest of Antiquity (3) where Elite and Heroic grade Balaur reside. The place where you exit may appear to be safe but monsters in this area are very strong and it will be difficult to exit the area without a proper force.
Players can move through this exit without going through the major battle areas of Silentera Canyon such as Jotun Square and Hope’s Demise, so use this exit effectively when the interior battle is fierce.
You cannot install a Kisk outside of this exit.
ⓐ Gelkmaros - Mitrakand
Upon exiting to Mitrakand (A), you will begin on an elevated hill. Elite Balaur dwell here so be cautious about your movement. In front of the beginning location, there is the Windstream that will transport to a safer location.
You cannot install a Kisk outside of this exit.
ⓑ Gelkmaros - Vorgaltem Battlefield
If you exit to the Vorgaltem Battlefield (B), you will begin on a hill above the pathway. Elyos players be aware that this is a high-traffic area for Asmodians since it is near their entrance to the Silentera Canyon.
Elyos players exiting from this location may find the merchant NPC Pradaaknerk that sells Asmodian apparel. Pradaaknerk appears at random and only stays for a short while. If waiting here for Pradaaknerk, be aware that Asmodian players will also be using this exit!
You can install a Kisk outside of this exit.
ⓒ Gelkmaros - Earthfang Gorge
Beware! This windstream does NOT lead you away from danger!
If exiting to Earthfang Gorge (C), be extremely careful as there are Heroic and Elite grade Balaur here. The starting point is very safe, but the only way out is through Petralith Canyon. If you are alone, your chance of survival will be quite low.. Be aware that the Windstream right in front of the exit point does not lead you out of this dangerous area. Instead you will move you deeper into Earthfang Gorge!
Players can move through this exit without going through the major battle areas of Silentera Canyon such as Jotun Square and Hope’s Demise, so use this exit effectively when the interior battle is fierce.
You cannot install a Kisk outside of this exit.
Silentera Canyon - Quests
There are currently 6 quests related to Silentera Canyon for each race.
Elyos Related Quests
| Lv | Quest Name | Rewards |
|---|---|---|
| 999 | XP 1,695,324 Kinah 21,200 Gellius's Pouch 1 |
|
| 999 | XP 5,989,348 Kinah 89,820 Greater Healing Potion 60 |
|
| 999 | XP 1,711,243 |
|
| 999 | XP 1,711,243 |
|
| 999 | XP 5,989,348 Kinah 71,810 Manastone: HP +95 1 Manastone: MP +95 1 Manastone: Magic Boost +27 1 Manastone: Crit Strike +17 1 |
|
| 999 | XP 5,989,348 Kinah 27,360 Enhanced Recovery Serum 5 |
Asmodian Related Quests
| Lv | Quest Name | Rewards |
|---|---|---|
| 999 | XP 1,695,324 Kinah 21,200 Gelastra's Pouch 1 |
|
| 999 | XP 5,989,348 Kinah 89,820 Greater Healing Potion 60 |
|
| 999 | XP 1,711,243 |
|
| 999 | XP 5,989,348 |
|
| 999 | XP 5,989,348 Kinah 71,810 Manastone: HP +95 1 Manastone: Crit Strike +17 1 |
|
| 999 | XP 5,989,348 Kinah 71,810 Manastone: MP +95 1 Manastone: Magic Boost +27 1 |
Silentera Canyon - Notable NPCs
Within Silentera Canyon a couple of crafty Shugo have managed to bring back Brand-name apparel from Elysea and Asmodae. Don’t be fooled by their seemingly kind nature, though; they are in it for profit! These Shugo are the only way to obtain the opposing race’s Brand-name apparel, and you will pay a considerable amount more than what the shops in each capitol city charge. These shugo will appear randomly and only for a short amount of time, so keep your eyes open!
There are also NPCs who exchange daily quest tokens within the corridor.
Token Exchange NPC
The Token exchange NPC is located in front of each race’s main entrance inside the Silentera Canyon.
| Race | NPC Name | Exchanged Token | Reward Token |
| Elyos | Icorunerk | Progress Token (x6) | Radiant Token (x1)
or Fortuneers Token (x1) |
| Icorunerk | Fortuneers Token (x6) | Radiant Token (x6) | |
| Asmodian | Raffinerk | Ward Token (x6) | Crusader Token (x1)
or Daemon Token (x1) |
| Raffinerk | Daemon Token (x6) | Crusader Token (x6) |
Brand-name Apparel NPC

- The NPCs that sell the opposing race’s outfits appear at random and only stay for 30 minutes before they disappear once again.
- The Silentera Canyon’s brand-name apparel merchants charge much more than the boutiques.
- The outfits of your race may only be purchased in your capital city rather than from Silentera Canyon in order to prevent unnecessary expenditures.

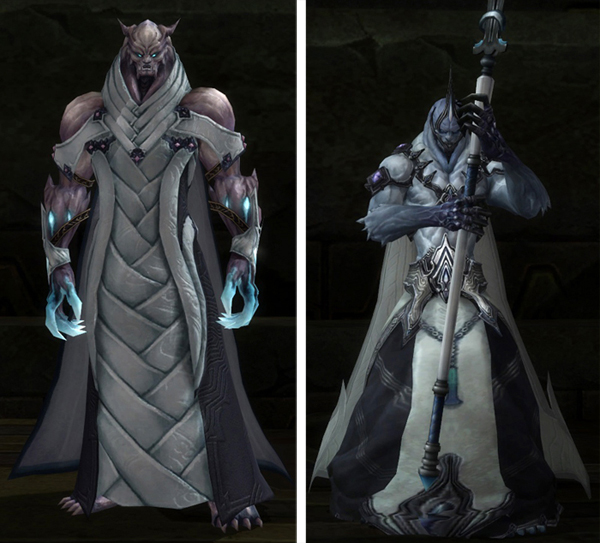
Pradaaknerk sells Asmodian brand-name apparel to Elyos customers.
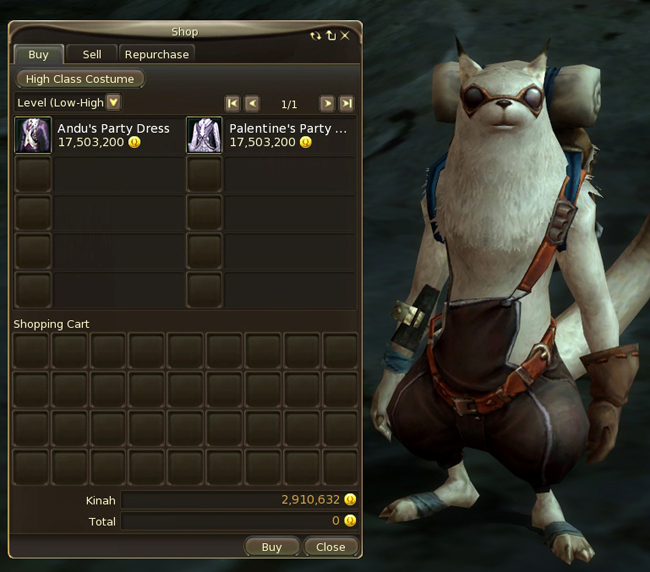
Armanerk sells Elyos brand-name apparel to Asmodian customers.